
When it comes to all the rooms/part of the house, the kitchen is the one that needs the most attention possibly every day. Whether you are undertaking a quick spring clean or you are planning to clean the kitchen thoroughly, this handy guide contains all the details and steps you need to take to ensure that by the time you have finished, the filth will be long gone.
Before we start, you need to know that this guide is an extensive one, so do not feel bad if you don’t meet up in time. Revive this important part of your home with a step-by-step tutorial on how to properly clean your kitchen.
Why Should you Clean your Kitchen Daily?
Developing the habit of cleaning your kitchen every day is highly encouraged. Here are some reasons why you should regularly clean your kitchen:
First off, the kitchen is known as the heart of the home, and this is where family members/friends mostly congregate. Since this part of the house gets crowded most times, it will turn out to be dirty more quickly.
Secondly, the kitchen acts as the place where messy and prone-to-dirty stuff happens on a regular such as preparation of meals and also eating. Since little stains like crumbs and spills are very much easier to clean up when fresh, this actually saves you energy, strength and time to clean the kitchen in a jiffy rather than trying to get off old stains from the counter.
Thirdly, you need to fully understand that the kitchen is where food is prepared. Therefore, it needs to be kept clean from a health perspective. Microbes, germs, or other forms of microscopic bacteria love the kitchen, and without proper sanitation, water-borne, or food-borne diseases can affect your family as a whole.
Lastly, you should clean your kitchen daily and adequately so that you can enjoy it. I know for me, I would rather go out to eat when my kitchen is a mess because I would have to tidy it up before I start cooking. Similarly, if the members of your family are likely to be there, you might as well clean it so they can’t get any stain stuck on their elbow or any form of stain imprinted on their shoes.
Now we have known why it is essential to clean your kitchen regularly, let’s jump right into how you can deep clean your kitchen.
How to Deep Clean a Kitchen
Difficulty | |
Average |
|
Time Required | |
60 – 90 minutes |
|
What you need | |
Cleaning tools |
|
|
Just like any other significant project, preparation is essential. It’s no use setting up a time frame to do the dirty work and then not able to do the job properly because you don’t have the right tools to clean up. Keep it in mind that we have made a list of all the tools you need while going through the steps of how to deep clean your kitchen. |
- Sponges
- Small bucket with a handle
- Microfiber cleaning cloths
- A short ladder
- A dust mop (a long handle mop is a right choice)
- A step-ladder
- A vacuum with an attachment
- Oven cleaner
- Broom
- Towel
- Drawer dividers and shelf or cabinet liner
- White vinegar
- Small bowl
- Wooden spoon
- Rubbing alcohol
Assemble all the supplies you need
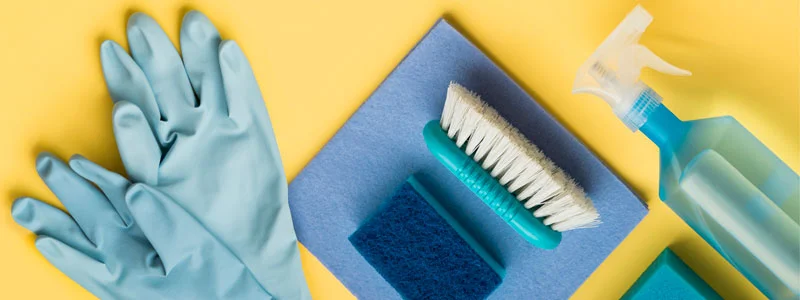
This step is the most crucial part, and you do not try to underestimate it. When you are cleaning up your kitchen, trying to find sponges, dish clothes and other supplies not only waste your time but at the same time distracts you from what you were doing in the first place.
Run a sink of soapy, hot water
If your kitchen has a double sink with a garbage disposal on one part of the sink, it is advised to use the disposal free side for washing dishes. While you run the hot water, you can use the disposal side to scrape the leftovers. The water on the sink side should be warm enough for you to tolerate it because, over time, it cools down.
Empty all the dishes and containers
Empty all the dishes and containers to the trash or through the garbage disposal. If you have a disposal sink and it is one way or the other blocked, in use or not working, you can scrape all the leftovers onto a dirty plate or the trash bin.
Soak dishes into the hot soapy water
Place the dishes which would come off as very hard to clean by you or your dishwasher in the hot, soapy water. Place the heavily soiled dishes at the lowest part of the sink. Fill used pots bowls or pans with hot soapy, water too, and set them on the counter.
Do a rough clearing out
While the dishes, pots, pans, and bowls are being soaked in, go through the kitchen, and do a rough clearing out from the floor, countertops, and other surfaces.
Do not worry about things that don’t belong in the kitchen or adequately cleaning the floor (we will talk about it in the next section).
Start gathering all the items
Start Gathering all the items that do not belong to the kitchen. You can organize them by putting them in a basket. If you have someone working with you, you can give them the basket to go and replace the things in their rightful place, if you don’t have them, you can leave them in the basket but away from the kitchen. Later you can keep them back in their place but do not stop working in the kitchen just to replace them.
Arrange all the items
Arrange all the items that belong to the kitchen but not also in their proper place. Don’t get distracted by rearranging drawers, cabinets, etc., just put back the items where they belong.
Wash the dishes
Wash the dishes either by hand or with a dishwasher. If you don’t like using a dishwasher or you do not have one, this step may take you more time. If you have someone helping you out, that would be fine. You can make a wash, rinse, dry assembly line to make the job go faster. You can also use this way to interact and catch up with family members or friends.
Wash the countertops and sink
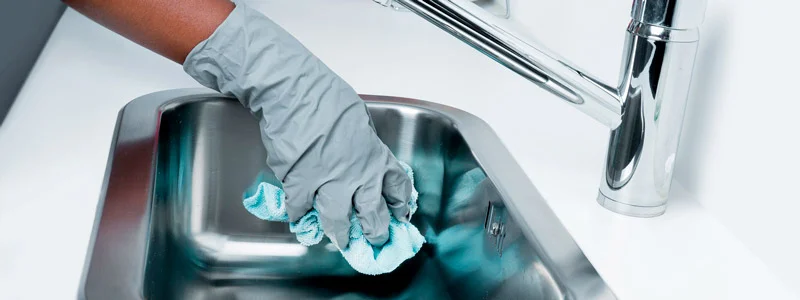
Rise out the rags and the sponges. Wash the visible surface of the countertops and inside the sink.
Dust down all the corners
Dust down all the corners and ceiling of the walls. Get to know if the walls need to be washed in dirty spots. Remember air vents, doors, knobs, walls when you spot wash. Walls need to be washed in this part of the house more than any other room. For example, you must have noticed a splash resulting from the mixer or blender sloshing all over the wall. Take the time now to wipe and wash all the grimes, grease, stains, and spilled food off the kitchen walls.
Dust and wipe all frames
Dust and wipe all the photo frames, photography, and arts displayed on the kitchen wall. Always be careful when you carry out this step. Do not spray chemicals or water on the frame. The liquid can pass through the glass damaging photos inside. To avoid this, you can just wet the wipe/cloth for cleaning and gently clean the surface of the frame.
Wipe and clean the ceiling fan
You may require to use a light cleanser such as an Oil Soap. Disassemble every light fixtures then wash them gently while drying them before fixing back.
Takedown every curtain

Takedown every curtain, blinds, and draperies to wash or clean according to the manufacturer’s requirements. Vacuum window sills and clean window corners. Wash the outside and the inside parts of the window glass. Dismantle the screens and wash them before replacing them.
Clean an oven
Apply the oven cleaner to the oven and tidy around the refrigerator. During this step, it is advised that you leave the kitchen windows open to avoid awful odor. While cleaning the refrigerator, you can vacuum the coils and also make sure that the fridge is switched off and unplugged before cleaning it. This is also the perfect time you can clean under the refrigerator because diets do settle under it. If you can also get help moving the refrigerator, that would be a big plus but be careful so you won’t scratch your floor.
Sort out your refrigerator
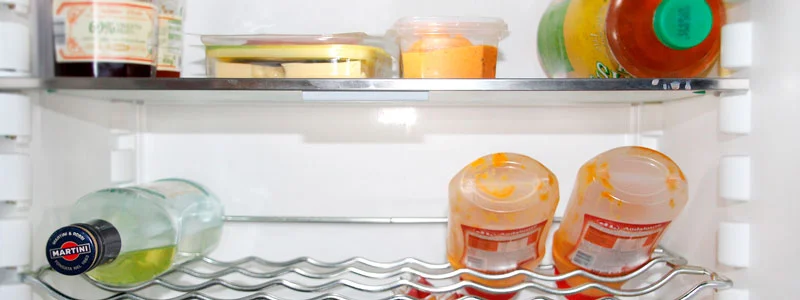
While the oven cleaner is in action, go through the internal part of your refrigerator, and sort it out. Dispose of any expired or spoilt food, empty the containers and throw away items in which you bought but never got the chance to use. Place the stuff you still need onto the counter. Bring out the refrigerator drawers and shelves. Wash them and be careful, especially on glass shelves. Wipe the internal part of the fridge thoroughly with a slightly wet rag before replacing the refrigerator parts and the food. After that, you can then wipe down the oven and clean it out according to the instructions on the manufacturer’s guide.
Take all items off the stove
Take the burners, knobs, spill catchers, and burner covers off the stove. Going through your manufacturer’s guide/manual, you can get instructions and steps on how to properly clean the model of your cooking stove. Some stovetops can be detached to allow easy access to food grains, crumbs, and spills. Clean out the entire stove.
Clean all appliances
Clean and wipe down the blender, toaster, and other appliances. Clean the microwave (there is a section on how to). If the spills on the blender or toaster are fossilized, try cleaning it with a jug of boiled water. The hot water should help loosen the smear. If any of the appliances smell bad, you can boil lemon juice to combat the odor. Always remember to unplug your appliances before cleaning them out.
Clean out the kitchen cabinets
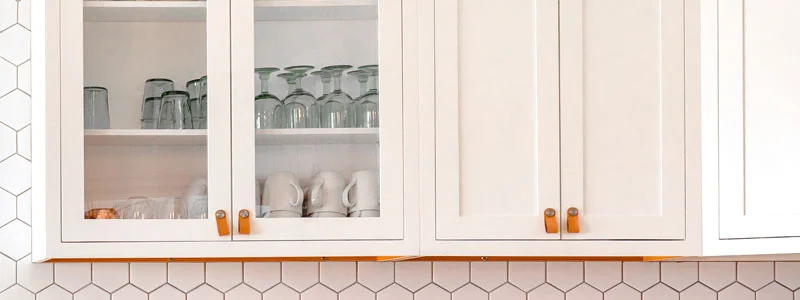
Arrange the cabinets if needed. Sort out and dispose of mismatched bowls and lids. Remove anything that is not used on a regular. Wash down and reorganize the outside and the inside of your kitchen cabinets.
Empty and clean out the dishwasher
Most of the time, food traps and unnecessary stains can clog the dishwasher. Try adding baking soda and vinegar to the dishwasher then run it. This will remove any clogging while cleaning out your dishwasher. Also, wash the outer part of your dishwasher.
Clean out and wipe every drawer
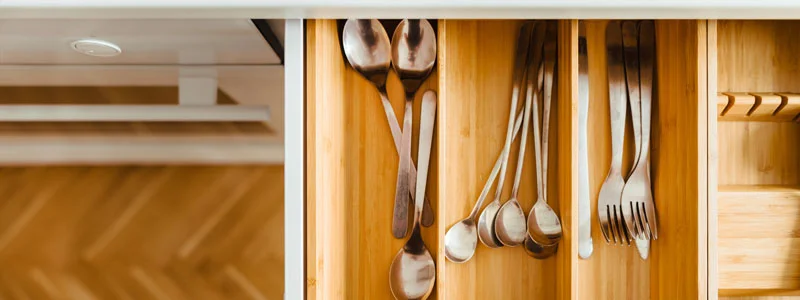
Drawers are used mostly in the kitchen to organize flatware. Arrange your flatware accordingly. You can install drawer dividers to help you better organize your drawers.
Remove any clogging in the sink if possible
I know we have talked about washing down the sink, but what if you have a clogged sink? If you have a clogged garbage disposal or sink, you can pour baking soda with warm water or better yet a lemon peel. This will remove clogs while freshening up the drain. You can also sharpen the blades of the garbage disposal by putting some ice cubes in it.
Take out the garbage
If the trash is filled up or the next day is trash day, take the excess garbage out and arrange them in the container, so it is set for pick up.
How to Clean a Kitchen Floor
Technology has so far produced a lot of nifty gadgets which can help us to tidy and sweep, but the truth is that an average home still needs the old traditional broom and mop to make the floor sparkling clean. Although the time will vary depending on the size of the floor, cleaning your kitchen floor is a fair task you have to take.
Sweeping the Floor
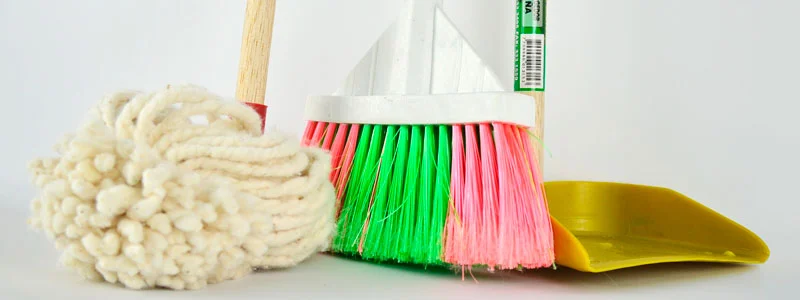
Before you mop and clean the kitchen floor, you have to sweep dirt as they can hinder the cleaning process. Here are steps in which you can take to ensure a professional touch.
Choosing your broom
Finding a broom that is suitable for your kitchen floor is an essential process when cleaning the kitchen floor. Use synthetic brooms for smooth floors and natural fiber brooms for rough floors. Choose brooms which have an angled edge for cleaning tight spaces and under cabinets and make sure your broom is comfortable in grip and weight.
Begin somewhere
When sweeping a room, there are different ways in which people do that. Some people prefer to find a starting point from an edge then push all the dirt to another part of the room for collection. Others prefer sweeping from all sides to the center of the room. Anyway that’s is comfortable for you, do it.
Start sweeping
Sweeping is a skill that everyone learns at some point in their life. Keeping continuous contact with the floor while slightly pressing the broom down on the floor can help greatly. You can begin at the section away from your body and then cautiously drag the broom towards you. There are many styles of sweeping, and you can choose according to the style that suits you.
Sweep up and gather your dirt pile
You have to sweep the dirt on the kitchen floor into a pile. After that is done, you can sweep it into a dustpan then empty it into the trash. Be careful not to move the dustpan too quickly, as this can result in dirt from the pan to blowback into the kitchen flow. After this step, you will prepare to mop the kitchen.
Mopping the Floor
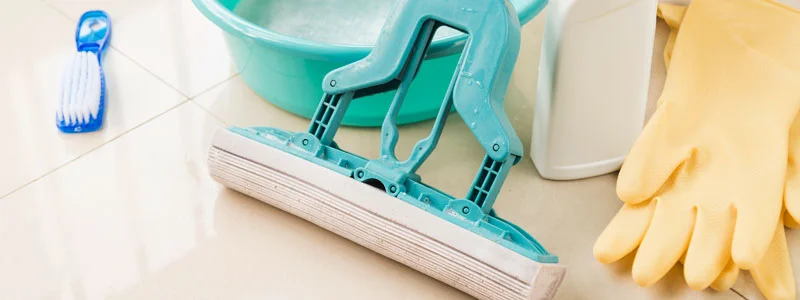
Traditional damp mopping so far is still the best type of way when it comes to cleaning floors. Damp-mopping is the best method for cleaning vinyl tile, vinyl sheet flooring, and porcelain tile. However, if your kitchen floor is made up of wood or, laminate, bamboo, or any other flooring that discourages content with water, avoid mopping it. Laminated kitchen floors may tolerate a damp mop but not heavy mopping due to the facts that it is not advised for these floors.
Choose your buckets and your mop
Choose your mop wisely, based on your kitchen floor type. If your kitchen floor has a ceramic tile, you would want to use a strip mop or a classic string mop. If you have a smooth kitchen floor, a sponge mop is the best choice out there.
Choose a Cleaner
Pick out a cleaner that is suitable for your floor type. Avoid products that claim to be “mop and shine” as these products can build up yellow stains over time.
Fill the buckets
Fill the bucket you want to use for mopping with hot water. Warm water acts faster and removes stains faster than cold water. Avoid adding too much cleaner in an effort to clean better. Adding a lot of detergents will instead make the floor very hard to rinse.
Begin Mopping
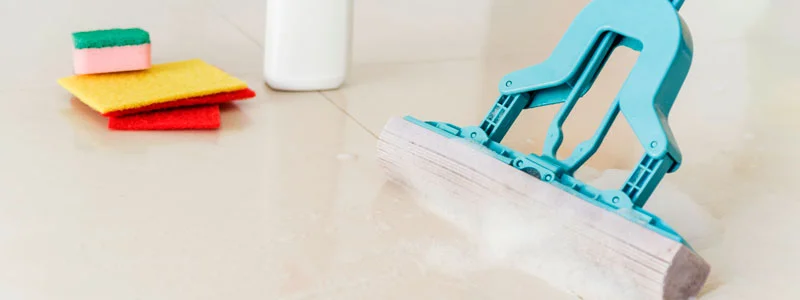
Start from one end to the other moving backward so that instead of standing on the already mopped surface, you are standing on the unmapped area.
Rinse the Mopped Area
After mopping a small area, rinse the mop in the mopping water. Dunk the mop in up and down movement then squeeze to remove dirty water from the mop.
Continue mopping
Keep repeating the mopping process until you have covered every surface of the floor. If the mopping water becomes dirty, consider changing it. Also, be cautious of the rinsing water too.
Do a final rinse and let dry
If you have gotten to this step, you will notice that the floor is almost clean. Go an extra step and run hot water without cleaning agent then mop the entire floor for the last time. If that is done, you then let it dry.
How to Clean a Microwave
When it comes to getting stains off your microwave, I advice using vinegar. It is an all natural cleaner that cleans, sanitizes, deodorizes at the same time.
Preparation
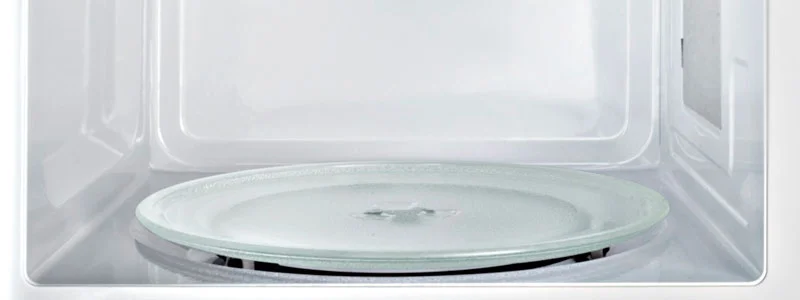
Pour one cup of water into a measuring bowl along with one cup of vinegar. Place the mixture in the microwave then place the wooden spoon into the liquid. The wooden spoon makes sure that the mixture doesn’t get overheated, resulting in an explosion.
Microwave
Set the timer from 5-10 minutes due to the strength of your microwave and turn it on. When the timer counts down, carefully remove the bowl from the oven with a rag or oven mittens.
Wipe inside the Microwave
Get a rag or a wet sponge and wipe the inside of your appliance clean. The steam from the mixture in the bowl will loosen up any stain and spills, making it easy to wipe.
Clean the exterior
Using a microfiber cloth and rubbing alcohol, pour a bit of alcohol into the fabric and wipe the outside of your microwave thoroughly.
How to Clean a Dishwasher
A dishwasher in one of the most used appliances at home, and it is essential to keep it clean. Using different detergents is not only help to make your dishwasher tidy, but also it helps to prevent damage to the dishwasher.
Preparation
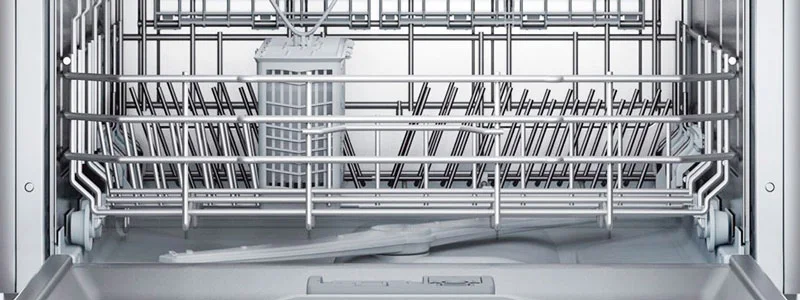
To clean a dishwasher properly, you will need silicone gloves, dishwasher cleaner and some free space near the dishwasher to stack racks.
Mechanical cleaning
Inside the dishwasher, at the bottom, you will find drain filter. At the first step, it is necessary to clean it by hand. To get access to it, you have to take out all the racks. At this point, you could also check them for any damage.
Deep cleaning
During the next step, you will run the dishwasher without dishes inside, but with a dishwasher cleaner. You can find recommendations to use vinegar and baking soda, instead of special cleaner, which is not correct from my point of view.
Dishwasher cleaner cost less than a few dollars, and by using it, you can be sure that it will work great without any risk to your health and appliances because it was manufactured especially for dishwashers.
Clean the exterior
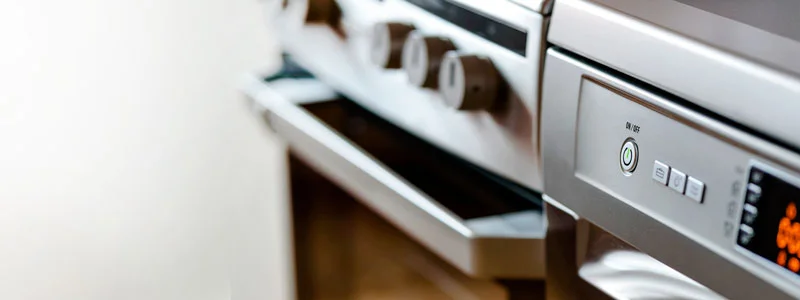
During the last phase, using a microfiber cloth wipe the outside of your dishwasher. It is also OK to use soapy water or rubbing alcohol.
How to Clean a Refrigerator
While dishwasher, microwave, range, and other kitchen appliances work from time to time, a refrigerator never stops. For this reason, we always forget about it or don’t have “free time” to clean it. However, it is incredibly important, because this is the place where we are keeping all our food. To clean a refrigerator will take some time, but it is important to invest it in the health of our family.
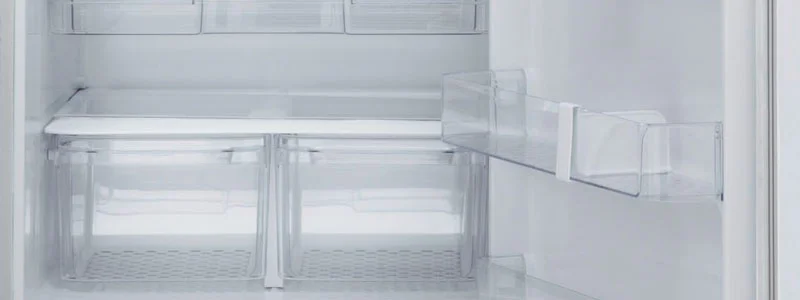
Preparation
You don’t need to clean a refrigerator often, I’m doing it once in three months, but you have to prepare properly. The first thing is to plan cleaning, so you will do it before your next trip to Walmart for buying tons of food.
The second thing is to choose the right cleaner. A refrigerator is about keeping our food fresh and healthy. Therefore, you have never to use active cleaning products or disinfectants inside the fridge. Always check the label, does it accept to use cleaner at the places with food contact.
The last part is to prepare a basin for removable parts of the fridge and a place to put products for a while.
Taking out
To start cleaning, you have to remove all food from the fridge and all removable parts. It will help to make the process much easier and quicker.
While all food will be waiting somewhere, all removable parts have to be placed in the basin before future wiping and rising.
Inside and Outside cleaning
Use a microfiber cloth and a cleaner or soap water to wipe all surfaces inside and outside the fridge. It is also useful to use a good quality sponge.
At the end put everything back.
Tips for the future
It is a good idea to keep a small plastic box with baking soda inside. That will be a great solution to prevent any strong odors.
Tips on Kitchen Cleaning
- Try to gather every supply needed to clean the kitchen first. Trying to disorganize your drawer to get your cleaner may get you frustrated, especially if you have already arranged your drawer.
- The larger your home, the longer it will take you to clean out your kitchen. You can use that to your advantage, make kitchen cleaning a priority and divide the work amongst your family members.
- Listen to music or an e-book while working on your kitchen. This will help you while away time and make the job more enjoyable.
- Always change your kitchen towels daily so you can clean up spills just immediately as they happen.
- Teach your family members/roommates how always to wash their plates after each meal. This takes the load off the dishwasher.
- Run hot soapy water during food preparation as cutleries, knives, cutting boards, bowls, etc. becomes dirty during the preparation stage.
Restaurant Kitchen Cleaning
Some tips are possible to spy from restaurant and cafes, how it is usually accepted there to clean kitchen and hall, and how they work with food in general. People who work there are professional, and they have to pass regulatory requirements, so a restaurant kitchen is a right place to look for an example.
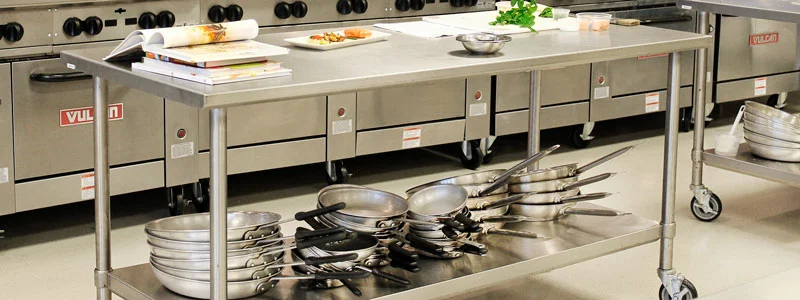
Here are some things, which are standard for a restaurant kitchen and rear for a usual home kitchen:
- Wipe down the prep areas after cooking each dish
- Switch cutting boards for different products (meat, poultry, vegetables)
- Brush grill between cooking red meat, poultry, and fish and after each day
- Wash meat and cheese slicer after each use
- Wash the can opener after use
It is not a full list of useful tips what we can spot in a restaurant, but it is an excellent start to make our kitchen at home even cleaner.
Restaurant Kitchen Cleaning Checklist
Talking about overall cleaning in restaurants, we have to mention that it is not occasionally processed, but is a daily routine. I prepared a checklist that could be interesting to everybody. Also, it could be printed and used at any kitchen, and if you need to update it according to your particular needs, use at a draft version of your kitchen cleaning routine checklist.
Conclusion
Now you have the idea of how to properly clean a kitchen, and I hope this kitchen cleaning steps will help you and your family appreciate your kitchen more. It is time-consuming, annoying and disgusting most times, but it needs to be done, at least ones a month.
A clean kitchen is worth the hassle, and at the same time, it prevents rodents and pests. Cleaning up the kitchen is highly sanitary, and it makes you feel good about where you prepare your food and eat. So relax and start cleaning.

